On This Page
| Table of Contents |
|---|
Overview
A connection is how you grant DryvIQ access to the content in your Microsoft Teams account. You will provide the connection information required for DryvIQ to connect to the platform/server. This grants DryvIQ access to the account so it can scan and analyze the content based on the policies you create.
| Info |
|---|
You must use an admin account with the proper privileges to manage Microsoft Teams configurations. |
Creating a Connection
Select Content from the main menu.
Verify you are on the Connections tab.
Select Add connection.
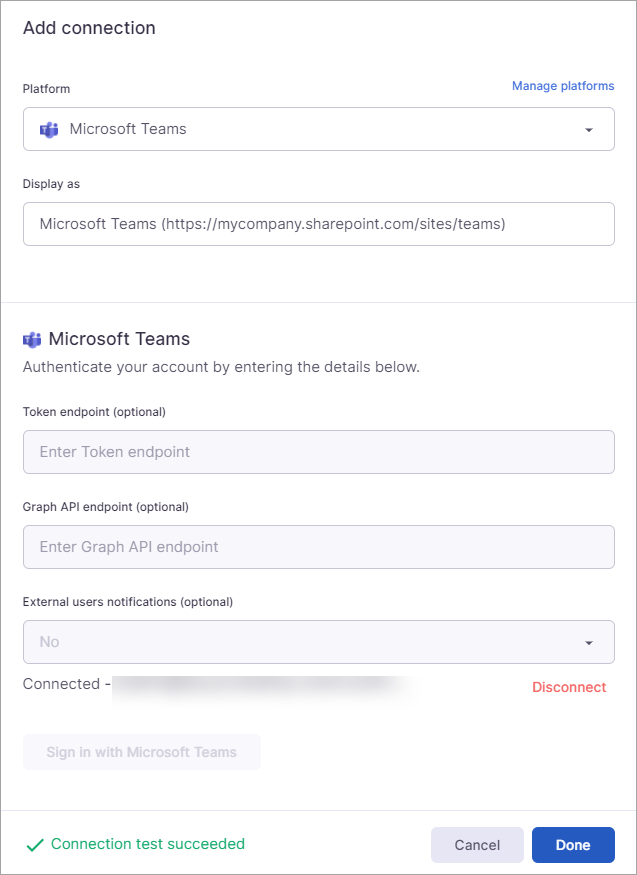
Select Microsoft Teams as the platform on the Add connection modal.
Enter the connection information. See Connection Configuration Options below for details about each field.
Select Sign in with Microsoft Teams.
Enter the email for the account being used to create the connection and click Next.
Enter the password for the account and select Sign in.
You will see a "Connection test succeeded" message on the Add connection modal. (If you don't see this message, repeat the sign in and authorization steps above.)
Select Done to finish creating the connection.
Connection Authentication Options
Below is a list of the authentication options available to create the connection. Select the options that work best for your account and the connection you are creating.
Field | Description | Required |
|---|---|---|
Display as | Enter the display name for the connection. If you will be creating multiple connections, ensure the name readily identifies the connection. The name displays in the application, and you can use it to search for the connection and filter lists. If you do not add a display name, the connection will automatically be named using the URL. For example, Microsoft Teams (https://mycompany.sharepoint.com/). If it will be useful for you to reference the connection by account, you should use the default name. | Optional |
Graph API endpoint | This setting is rare for most Microsoft connections and can be left blank. If needed, this value will be provided by your administrator. | Optional |
Token endpoint | This setting is rare for most Microsoft connections and can be left blank. If needed, this value will be provided by your administrator. | Optional |
URL | Enter the URL of your Microsoft Teams account. You can find the URL by
| Required |


