Select Policy Center.
Verify you are on the Policies page.
Click the ellipses (…) that display when you hover at the end of the row for the policy.
Select Edit policy from the menu that displays. The Tracking groups page for the policy displays.
Select Data sources from the menu on the left side of the screen.
Select Assign data source.
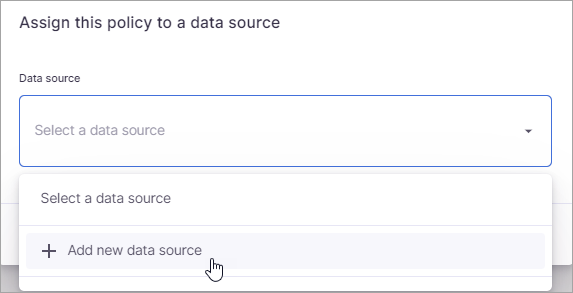
Select Add new data source from the Data source list.
The Connection list appears and displays all connections created in the application. Initially, it displays the first 100 connections. If you have more than 100 connections, use the Load more link to display additional connections as needed. Select the connection for the data source you are creating.
If impersonation is available for the connection, a Run as User toggle displays. Select this toggle if you want to use impersonation and then select the user you want to access.
The Choose a directory window displays all the directories on the selected connection. Select the directory you want to use. Use the Load More link to load additional directories in the list as needed. You can drill into each directory by selecting the right arrow that displays when you hover to the right of the directory name. You can also manually specify the path to use.
By default, scans must be manually triggered to run. If you want to set a data source scanning schedule, select the Data source scanning schedule toggle and specify the information for the scanning schedule.
Select Done to save the data source.
The data source will be added to the Data source grid.
...


